I really enjoy making my own belly dance costumes and reading about how to make belly dance costume as well. It has become my hobby over the years. Designing and selecting fabric, sequins and beads are so fun. Sewing is not so exciting sometimes, especially when you keep poking your fingers with needles, but when you complete a piece, it’s such a great feeling. Making my own costumes is usually cheaper than purchasing one, and I can keep trying on the costume to make it fit me well.
I recently made this yellow 2 piece-costume, and would like to share with you how I made it.
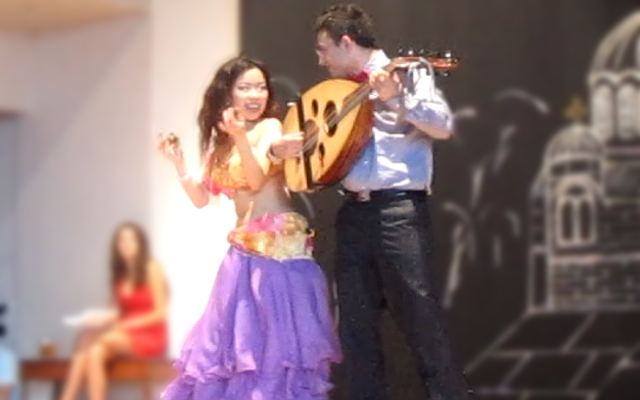
Majnuun at Bulgarian Festival
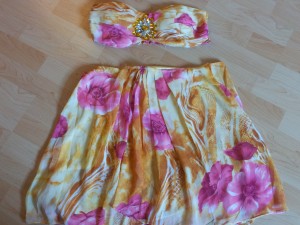
This was super easy to make, and no sewing machine required. I deconstructed this dress that I bought a few years ago and wore only a few times. I loved the print and colours, but I just didn’t want to wear it anymore. Here are photos of what it looked like before I took it apart.
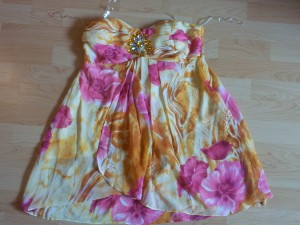
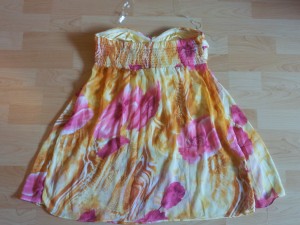
First, I cut the thread along the seam to separate the top part which later becomes the costume top/bra from the skirt part, which later becomes the costume belt. I made sure I didn’t cut the threads that held the printed fabric and the inside silky fabric together. The printed fabric was quite see-through, so I needed the inside fabric to stay with it.
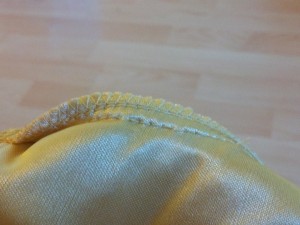
And the top and bottom parts are separated!
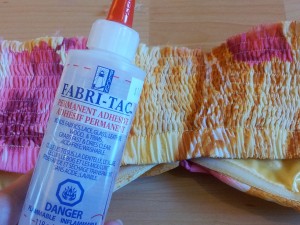
And since I didn’t have a concrete plan as to how I’m going to assemble the costume, I took this fabric glue to fold and stick the flimsy ends of the fabric to the back side of the fabric. (Later I realized this wasn’t necessary for what I ended up doing.)
Then I attached a clear strap that came with the dress that went around the neck and held the dress up like a holterneck dress.
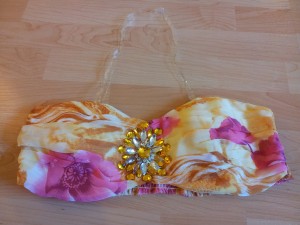
Technically, I could wear the top like this, but it sat on my chest a bit too loose for my comfort. So I cut the back piece in half and pinned a bra on it like this. Be careful if you are making a costume with your dress. I was able to cut the back side in half and still make it work, because the back part was stretchy (which made sewing challenging), so there was more than enough fabric to cover the side straps. If your dress is not stretchy, then you may need to add extra fabric. For example, you can cut strips of fabric from the skirt part of your dress for side straps, so you can still use matching fabric.
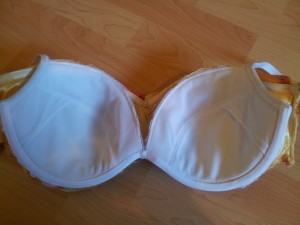
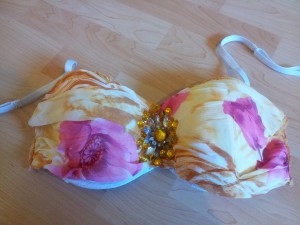
So here I cut out side straps from left-over felt from a previous project. I pinned them to the white bra. It’s a good idea to *very carefully* place the whole thing on your chest to make sure the straps align straight.
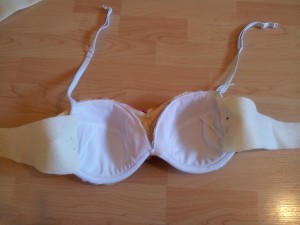 When I pinned all pieces together, I started sewing. But I didn’t sew all the way around… that would have taken me days! For the bra, I just sewed a few points at the top and bottom each, just to make sure the fabric stays on the bra and the white bra doesn’t show. As for the side straps, I had to sew all the way around, but I used fairly big stitches. I had to keep pulling the stretchy fabric when I sewed otherwise the fabric wouldn’t have been long enough to cover the straps. That’s why it looks squished in the photo. When I wear it, it stretches out, no problem.
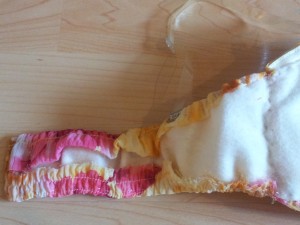
Then I just attached clear shoulder straps to the bra. I use clear straps sometimes, when I am too lazy to make shoulder straps from scratch or when I don’t want too much fabric covering my shoulders. And I had some extra material from the skirt section, so I decided to add a little ruffle to the right shoulder. I just cut out a wide strip longer than the shoulder strap, placed it on the strap and folded fabric over the strap about an inch. I sewed the fabric together like this.
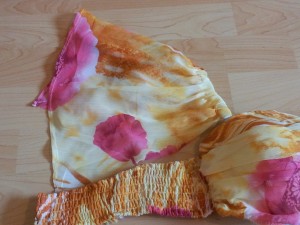
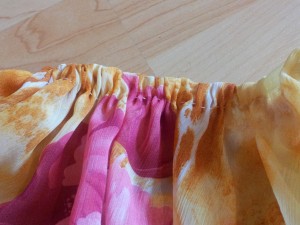
Then of course I sewed a snap button and a skirt hook on the side straps, and done!
The belt was super easy. The skirt part of the dress had a couple of layers, so I took them apart like this.
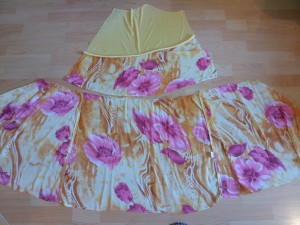
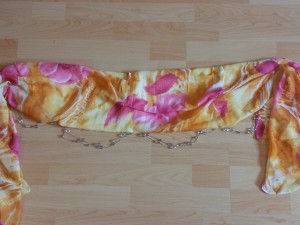
The flower-printed section of the top piece in the above photo became the ruffle on the shoulder. And the long piece on the bottom became the belt. Again, I used the fabric glue to tuck away all the flimsy ends. Then, this is optional, but I cut out a piece of felt into the size of the belt I wanted and glued the fabric to it. This is just to give the belt thickness, because the fabric was way too light and wouldn’t stay on my hip. I left the end of the fabric untouched, because I just want to tie the fabric on the side and enjoy the pretty fabric flowing as I move. I had a long, gold necklace with round beads on it, which I wasn’t wearing, so I decided to sew it loosely along the bottom of the belt. This gives a bit of shine on the stage. I added a few darts at the top of the belt so it curves nicely around the hip. Here is the end product.
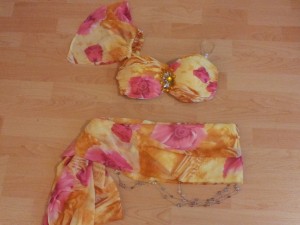
I hope this was useful for belly dancers looking for DIY costume ideas. It took me a few days of thinking and playing around with the fabric to make the costume, but the actual work took me only about a few hours. If you have a “forgotten” dress lying around, think about recycling it and making it into a costume! It’ll give the dress another life, and you will love the dress again without spending any money.
Did you enjoy this article? Get our latest articles in your email inbox!
[mc4wp-form]
